在deepin、ubuntu、Centos 8上测试通过。
¶ 约定
sshname表示在.ssh/config里的名字,可以是IP地址。
注:测试用的服务器的sshname都为L1707
¶ 服务器
¶ TigerVNC
TigerVNC会创建一个新的桌面环境。
¶ 安装
Debian 12:
sudo apt install tigervnc-standalone-server卸载
sudo apt remove tigervnc-standalone-server
sudo apt autoremove
Centos 8:
sudo yum install tigervnc-server.x86_64¶ 设置密码
vncpasswd¶ 启动
Xvnc :1 PasswordFile=$HOME/.vnc/passwdtigervncserver或者指定号码:
tigervncserver :1¶ 关闭
tigervncserver -kill :1¶ TightVNC
¶ 安装VNC server
debian系:
sudo apt install tightvncserver¶ 设置 / 重置 密码
vncpasswd¶ 启动VNC server
vncserver -localhost-localhost表示只接受localhost的连接。
Would you like to enter a view-only password (y/n)?选n。
New 'X' desktop is L1707:1,表示新建的桌面在:1,端口号为5901。
完整输出:
searchstar@L1707:~$  vncserver

You will require a password to access your desktops.

Password:
Warning: password truncated to the length of 8.
Verify:
Would you like to enter a view-only password (y/n)? n

New 'X' desktop is L1707:1

Creating default startup script /home/searchstar/.vnc/xstartup
Starting applications specified in /home/searchstar/.vnc/xstartup
Log file is /home/searchstar/.vnc/L1707:1.log
¶ 关闭VNC server
使用完毕后可以关掉VNC server的session:
vncserver -kill :1¶ X11VNC
X11VNC把当前显示器的内容共享出去。但对于没有显示器的机器,分辨率会很低:https://www.reddit.com/r/linuxquestions/comments/5y80m0/higher_resolutions_with_x11vnc_on_headless_box/
参考:https://wiki.archlinux.org/title/X11vnc
sudo apt install x11vnc创建密码文件~/.vnc/passwd:
x11vnc -storepasswdx11vnc -display :0 -localhost -usepw -forever -geometry 1920x1080-localhost: 只允许localhost的连接请求
-usepw: 使用~/.vnc/passwd里的密码
-forever: 在第一个client退出后也继续监听
¶ 客户端
¶ 构建ssh隧道
语法如下:
ssh -fNL port:hostip:hostport sshname将localhost:port的流量通过远程服务器sshname转发到hostip:hostport。
-f: 后台运行。
-N: 不执行命令。用于转发端口。
-L port:host:hostport
        将本地机(客户机)的某个端口转发到远端指定机器的指定端口.  工作原理是这样的,
        本地机器上分配了一个 socket 侦听 port 端口, 一旦这个端口上有了连接, 该连接
        就经过安全通道转发出去, 同时远程主机和 host 的 hostport 端口建立连接. 可以
        在配置文件中指定端口的转发. 只有 root 才能转发特权端口.  IPv6 地址用另一种
格式说明: port/host/hostport网上很多教程上还加上了-g,这样本地的端口会向网络上其他机器开放,就不安全了。
对于我们的情况,命令这样写:
ssh -fNL 5901:localhost:5901 sshname这样就把本地的5901端口的流量通过sshname转发给localhost:5901,也就是转发给服务器自己的5901端口了。这就实现了将服务器的5901端口映射到本地的5901端口了。
¶ 安装VNC viewer并查看
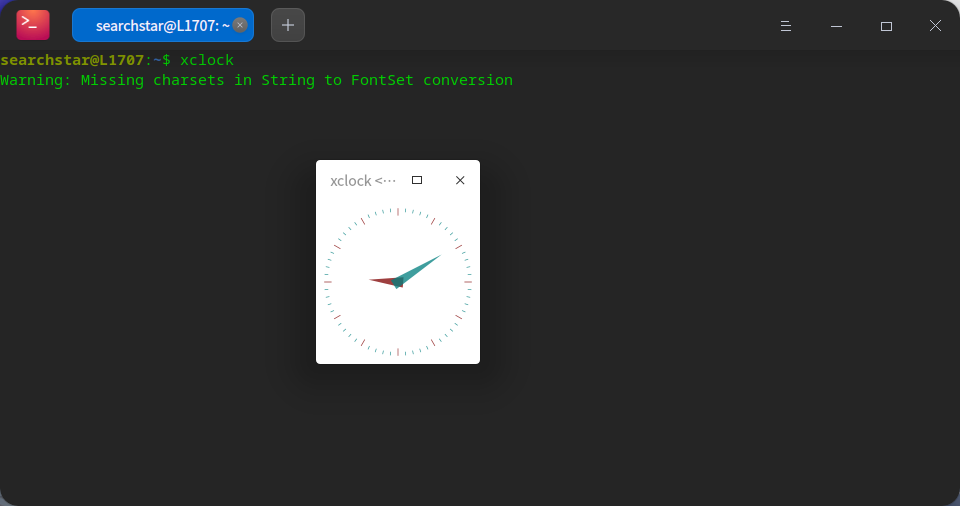
在vncviewer中查看localhost:1即可。
Debian系:
sudo apt install xtightvncviewer
vncviewer :1
ArchLinux:
sudo pacman -S tigervnc
vncviewer :1
MacOS:
brew install tigervnc-viewer,然后打开tigervnc,在弹出的窗口里输入localhost:1即可。
就是任务栏没了。。。
当然显示出来是一片灰色也是正常的。
指定分辨率:
vncviewer :1 -geometry=1280x720¶ 在终端中执行GUI程序
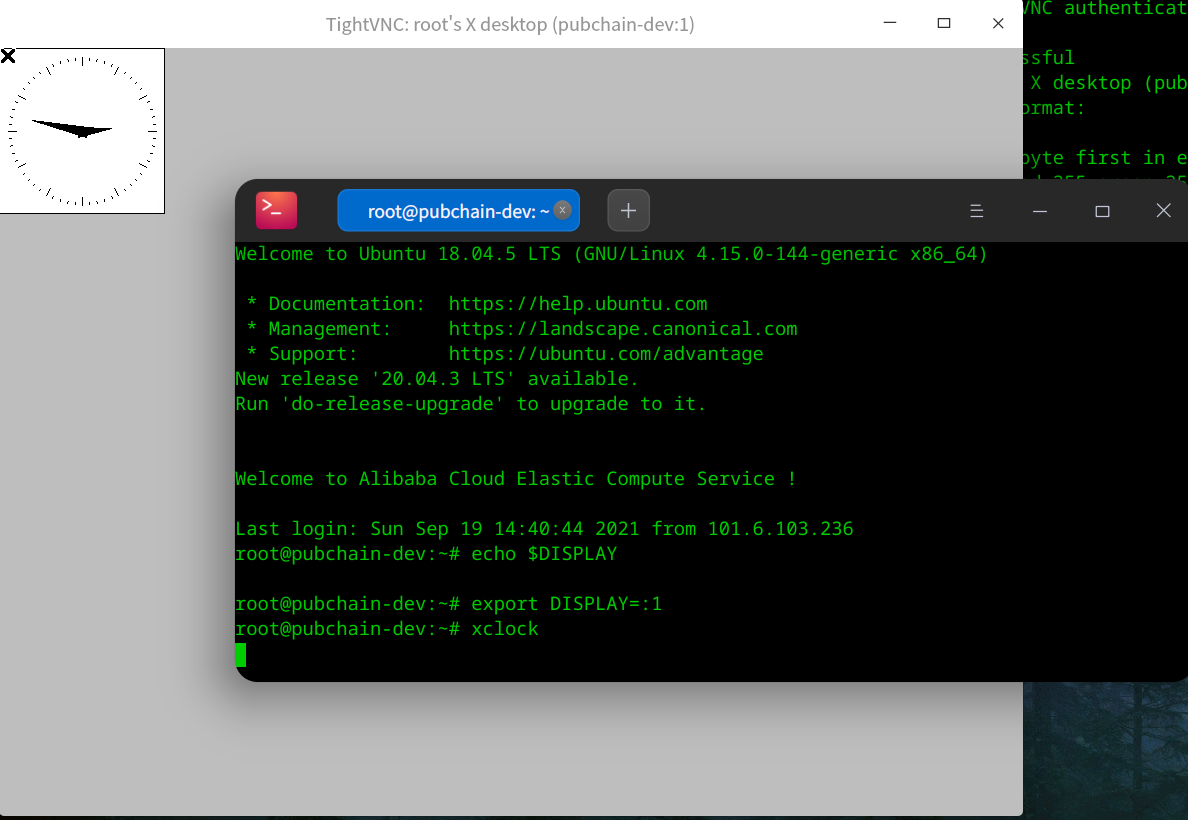
先查看DISPLAY环境变量是否已经设置了:
echo $DISPLAY如果输出不为空,就可以直接在终端中执行GUI命令了:
如果输出为空说明没有设置,可以手动设置一下:
export DISPLAY=:1然后执行GUI命令后窗口就会显示在之前打开的桌面上。
xclock